DIY Automatic Sanitizer Dispenser
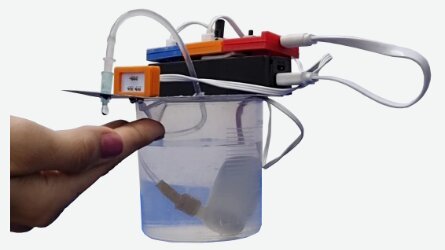
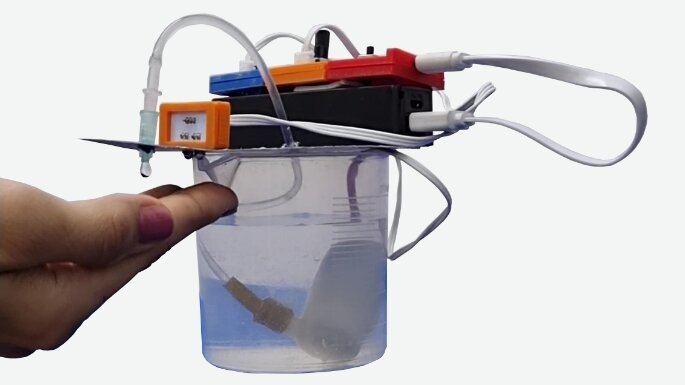
What makes learning fun, you ask?
Putting that learning into use. Seeing the learning come to life through creation.
The seeker’s projects from Havi – DIY Robotics starter kit do exactly that, give kids an opportunity to convert what they learn into a functional thing.
The touchless automatic sanitizer is a simple dispenser that uses IR sensors to detect the presence of a hand and activates a motor pump to dispense the sanitizer.
So let’s start
Purpose:
- To stimulates curiosity & creativity in kids
- Provide hands On introduction to Electronics
- Brings a sense of achievement
Things you need:
Elements:
- Power – 1
- IR with IR LED – 1
- Motor – 1
Accessories:
- A water pump
- A bowl/container
- Project paper
Contact us to get the elements & accessories.
The making:
Step-1
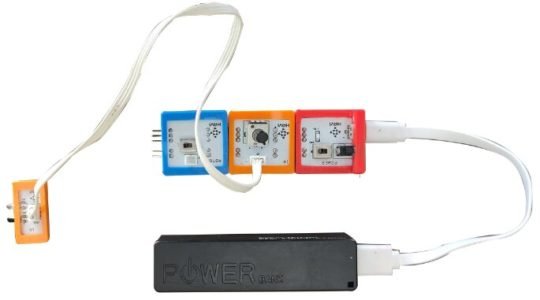
Make a circuit using Power + IR + Motor element.
Attach the pump to the motor element and put the pump inside the water as shown in the images. Initially, we will take water to experiment.
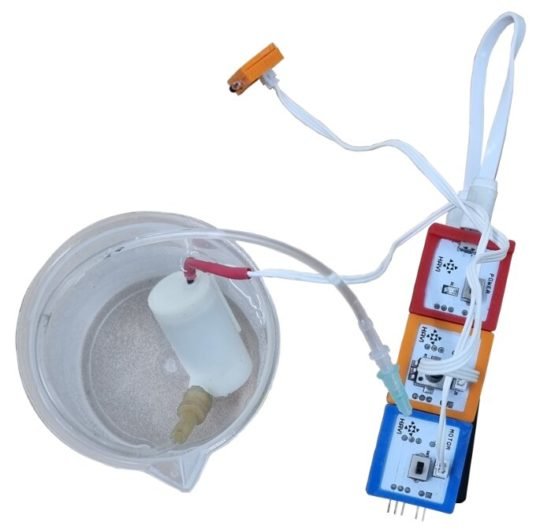
Cut the chart paper in a creative way. Make four small holes in chart paper to place a water outlet and IR LED.

Cover the container with chart paper in such a way that the water outlet and IR LED can be placed in the same direction.
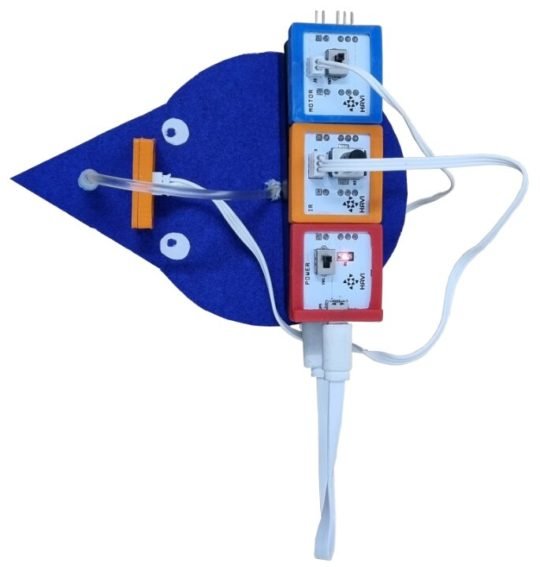
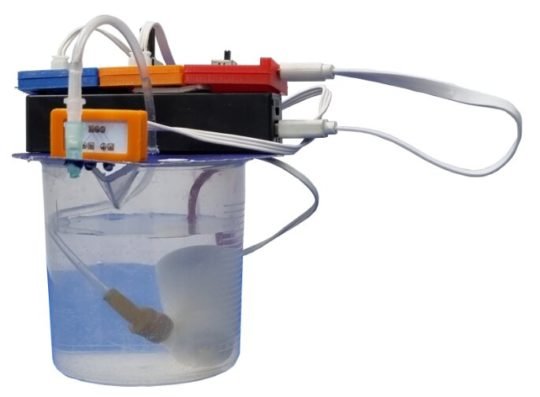
Keep your hand under the pump outlet and Tadaa, your DIY touchless dispenser is ready! Replace the water with sanitizer now and surprise your guests.
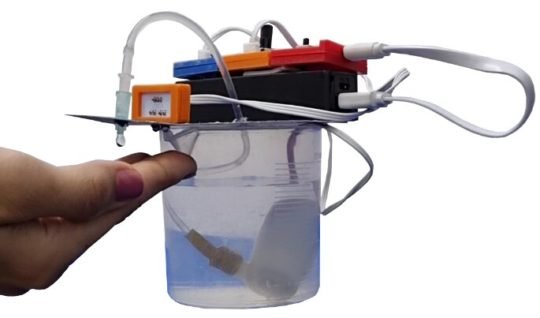
Observation & Conclusion:
How does the dispenser know when to dispense the sanitizer and when not to?
The IR sensor we installed senses the palm when we place it under.
What is an IR sensor and how does it work?
The IR sensors detect the objects in its surrounding either by emitting or detecting the IR radiations.
Working of IR sensors
IR sensor consists of 2 things – IR receiver and IR transmitter
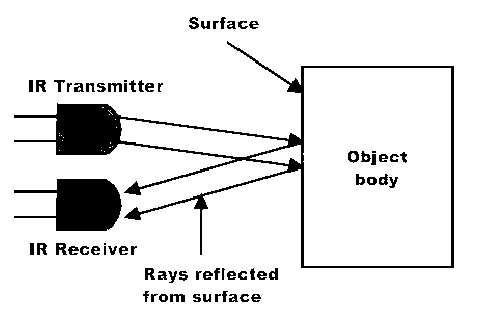
Great that the IR sensor detects our hands. But how will it activate the pump?
Here is a simple diagram to explain that
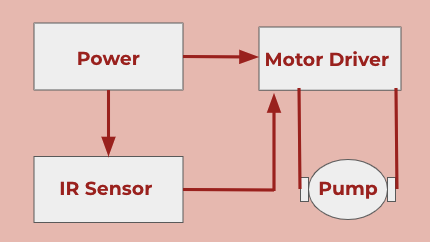
The pump will send the sanitizer up the tube and into the hands.
And all of this is powered through the power jack which is connected to the socket.
Get the exclusive pack of Havi elements & accessories to make automatic senitizer dispenser project model, contact us to know more.

