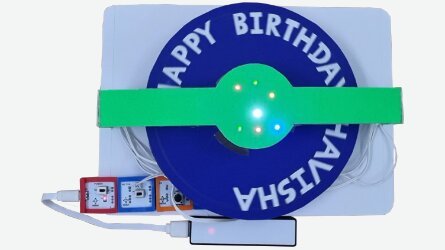
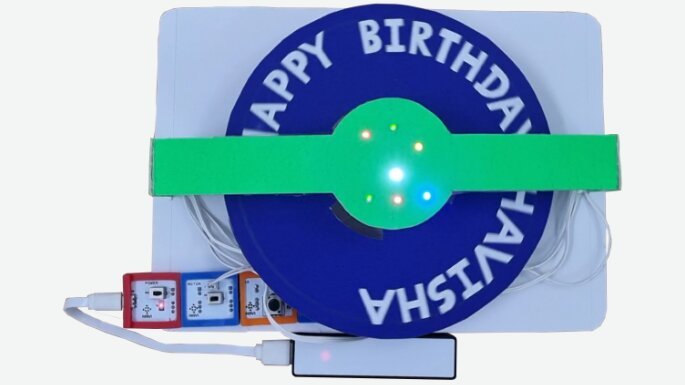
Isn’t it a great idea to surprise your sibling on his/her birthday with the robotics creation made using Havi’s robotics kit?
Here we go…!
What do you need?
Elements:
- Power – 1
- IR with IR LED element – 1
- Motor – 1
- LED – 2
Accessories:
- Geared motor
- LED wires – 7 to 8
- Power bank
- Power cable
Craft material:
- Project paper
- Cardboard
- Transparent adhesive tape
- Plastic Roller circle
- Cutter
- Scissor
- Compass
- Pencil
- Scale
The making
Step 1
Prepare a circuit with Havi elements in this order: Power element + motor element + IR element + LED element + LED element.

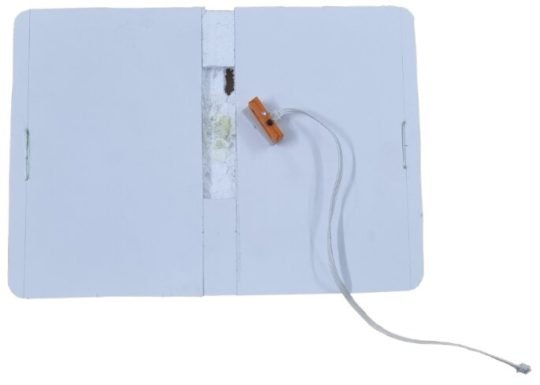
Let’s make the base first. Take a thick thermocol sheet. Cut the sheet in rectangle shape and make a space for the geared motor. Also attach the IR LED with double sided tap as given below:
Step 2
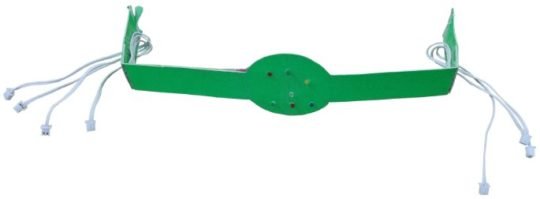
To make the LED stripe, take a construction paper, cut it as shown here. Make the holes in the center of the stripe to place LEDs. Attach the LED wires as per the image.

Step 3
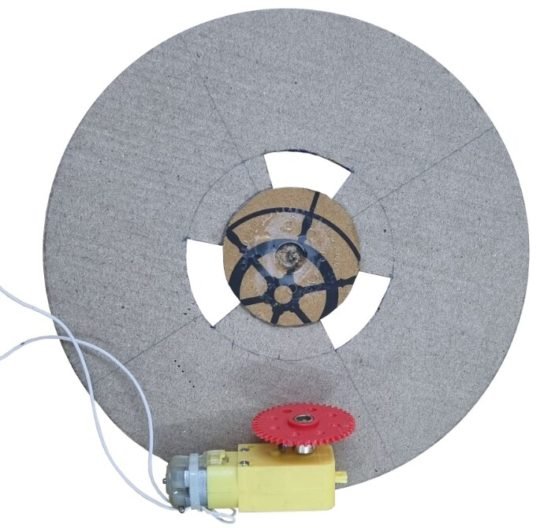
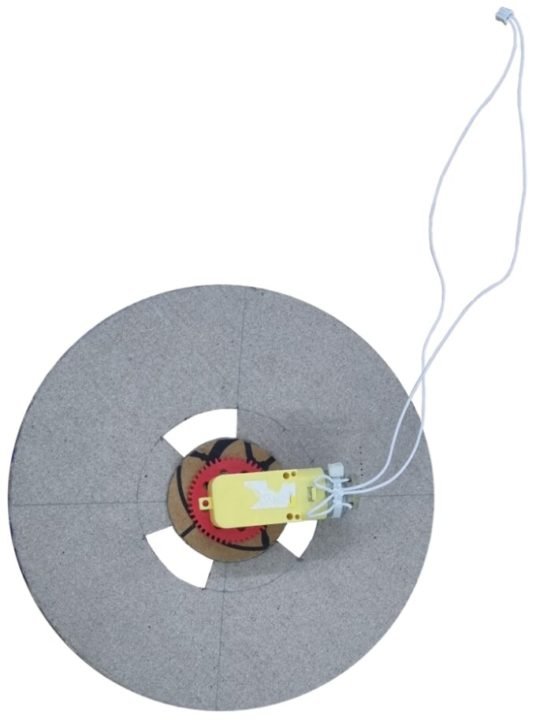
To make a wheel, cut the cardboard in a circle with a compass. Attach the geared motor to the center of the disk with a glue gun. Also make three cuts on the wheel as described in the figure. The wheel is ready.
Step 4
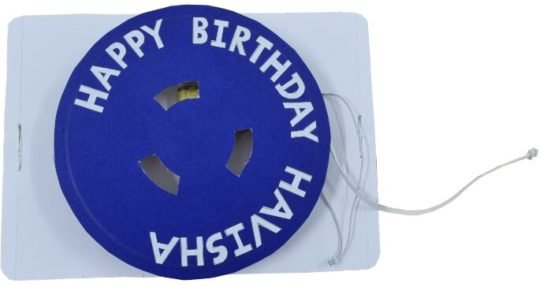
Place the geared motor on the base. Attach the stripe over the wheel.

Step 5
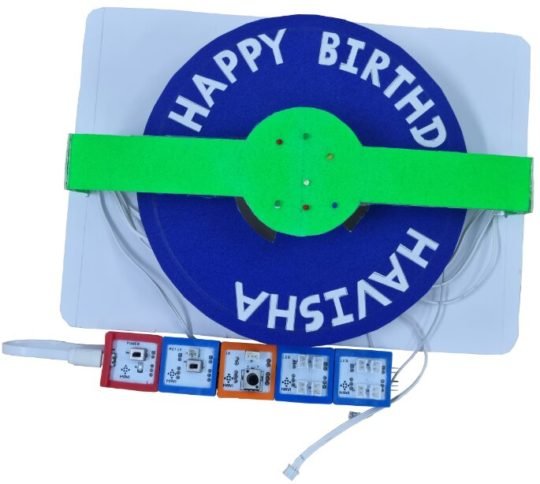
Attach the LED wires with LED element and IR LED with IR element. Connect the whole circuit with the power bank.
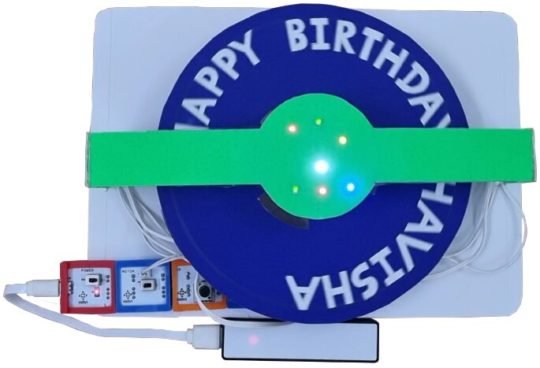
How does it work?
As the power turns on, the motor will start. Due to that, the wheel will start rotating. The IR on the thermocol sheet will detect the rotating wheel, and will pass the YES signal. Once the LED element receives a YES signal, LEDs will be turned on. But due to rotation of the wheel, there will be times when IR will not detect the wheel due to the cuts on it. At that time, it passes NO signal and LEDs will be turned off.
Advantages when implemented in the real world.
Surprise your friends in a unique way on their birthday. Also you can present this project in your school science fair. A perfect example of STEAM!

